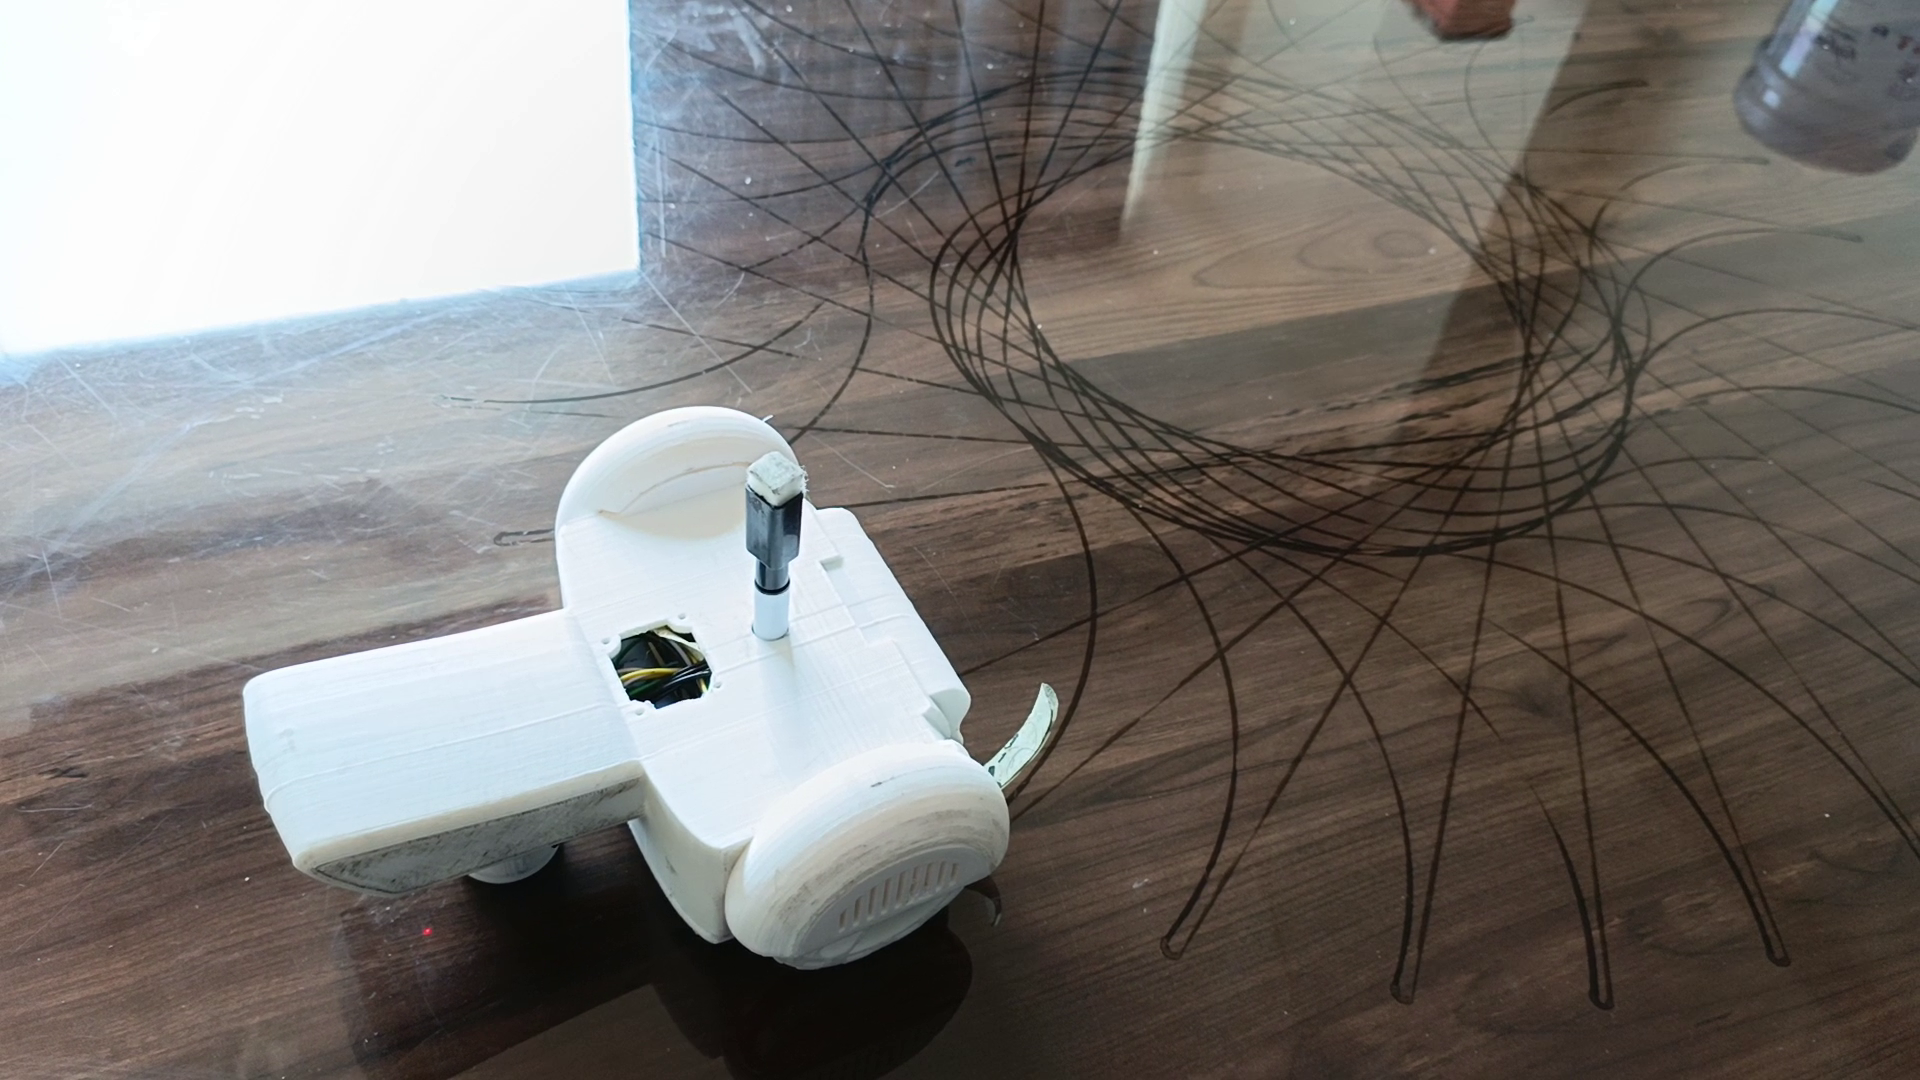
In my previous work, I created a robot that could draw patterns and shapes using remote control (RC). I also experimented with integrating MicroROS to enhance its functionality. While the initial design was successful in terms of basic drawing, the next logical step was to implement G-code – a more sophisticated method of controlling the robot’s movements for precision drawing.
This article takes you through my journey of designing and building a drawing robot, from design inspiration to technical challenges, and the exciting potential it holds for future users.
Table of Contents
ToggleInitial Concept and Design Inspiration
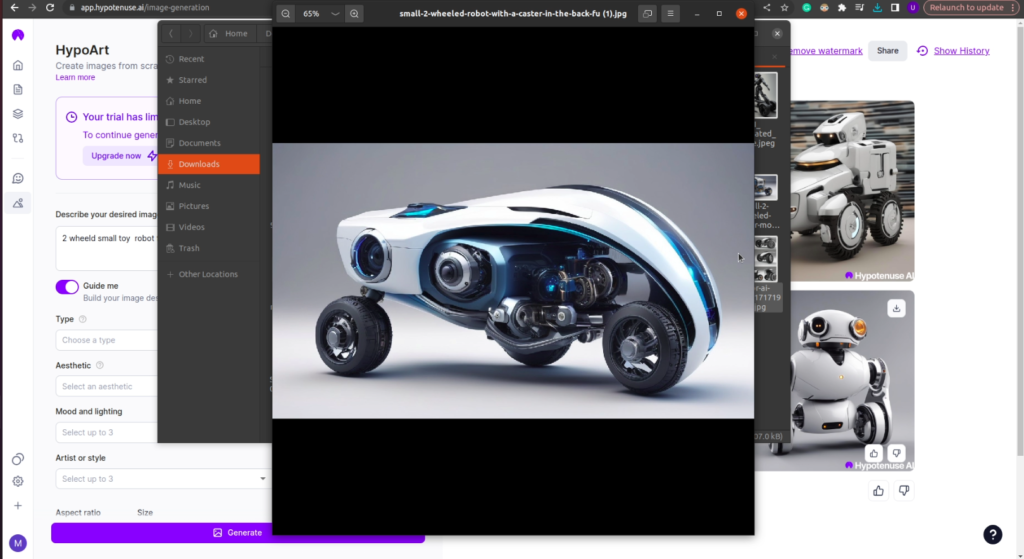
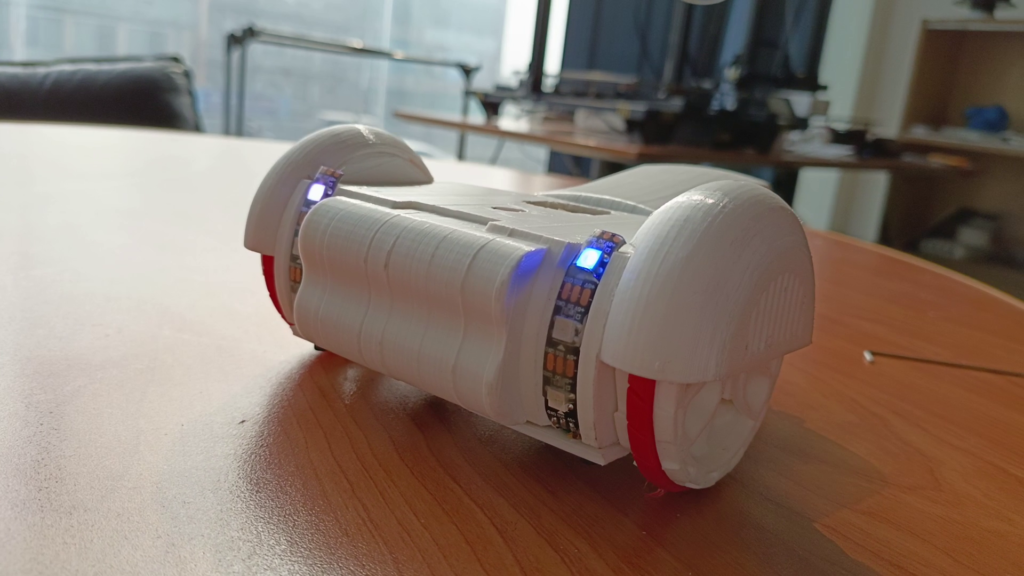
I drew inspiration for the robot’s design from various AI tools and robotics projects. While the original plan was quite complex, I had to scale back the design for practical reasons. The focus became creating a solid base for the robot, which would handle all the essential functions, while leaving out some components – particularly the pen holder.
The intention was to create a pen holder mechanism that could automatically place and lift the marker while drawing. Unfortunately, due to design complications, this part of the project was postponed. The marker used in the current iteration is a temporary solution, easily erasable for testing and refining purposes
Technical Implementation
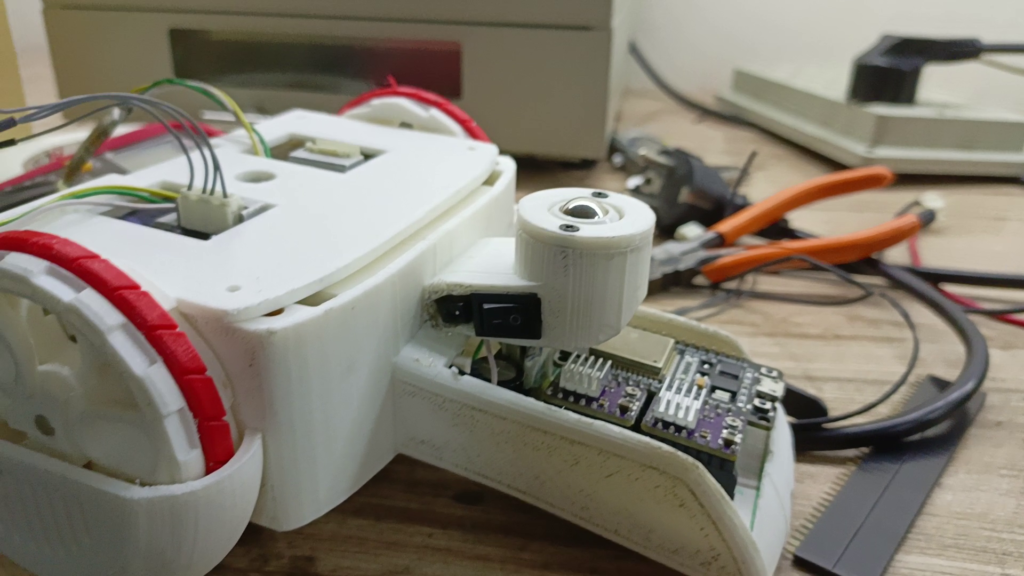
For the hardware, I installed:
- ESP32 microcontroller: The brain of the robot, handling all the processing.
- Stepper motors and drivers: These control the precise movement of the robot, crucial for accurate drawings.
- Motor drivers and other electronics: Essential for powering and coordinating all components.
G-code Integration
The major advancement in this project was incorporating G-code. G-code is a programming language used in CNC machines and 3D printers, defining paths for precise movement. By integrating this with the ESP32, the robot can now execute detailed patterns and shapes based on the G-code instructions.
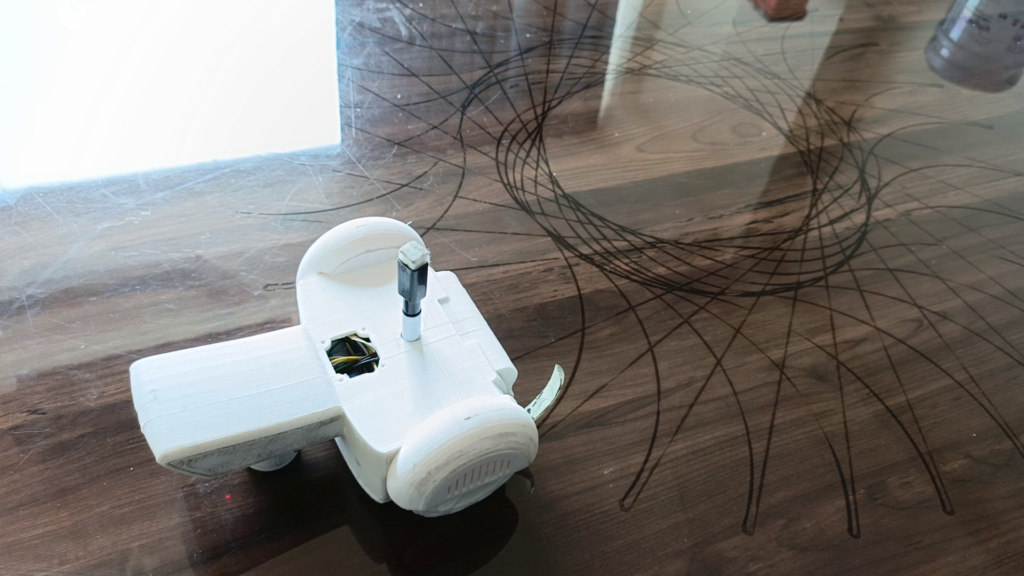
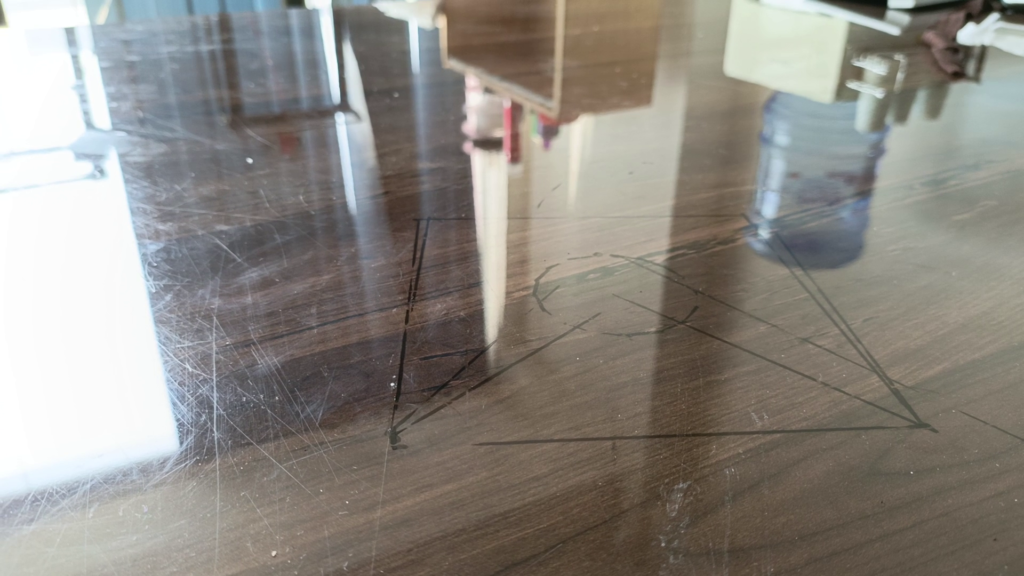
I wrote a custom code for the ESP32 to interpret G-code and translate it into motor movements, allowing the robot to draw shapes like circles, squares, and spirals. These shapes are rendered with impressive accuracy, thanks to the fine control provided by the stepper motors.
After assembling the components and uploading the code, I ran several tests on the robot. The initial results were promising, as the robot successfully drew basic patterns. For example, one of the tests involved drawing a circle inside a square. The result was close to the ideal shape, though there were areas for improvement.
Tuning Parameters
To refine the drawings further, I focused on adjusting key parameters such as the radius of circles, separation distance between shapes, and drawing speed. These factors are crucial in achieving precision and reducing errors during the drawing process. The robot’s performance improved significantly after these adjustments, and the drawings became more accurate with each iteration.
Future Enhancements
While the robot is functional, there are several improvements I plan to make:
- Finalizing the pen holder: Completing the design of the pen holder will enable the robot to lift and lower the marker automatically, making the drawing process more efficient.
- Advanced G-code support: As I continue to test the robot, I will expand its G-code capabilities to allow for more complex shapes and patterns.
Conclusion
This project has been a challenging yet rewarding journey. By incorporating G-code, I’ve taken the robot from basic RC control to a more sophisticated drawing system. I aim to create a product that allows users to define any drawing, which the robot will then draw on the floor with precision.
Thank you for following my work, and stay tuned for further developments. Follow us on social media to keep up with the latest updates on this exciting project!
